Showing posts with label Fall. Show all posts

Tuesday, September 26, 2017

Sorting Helps Science and Math Skills

Walks With Young Children Are FUN!!
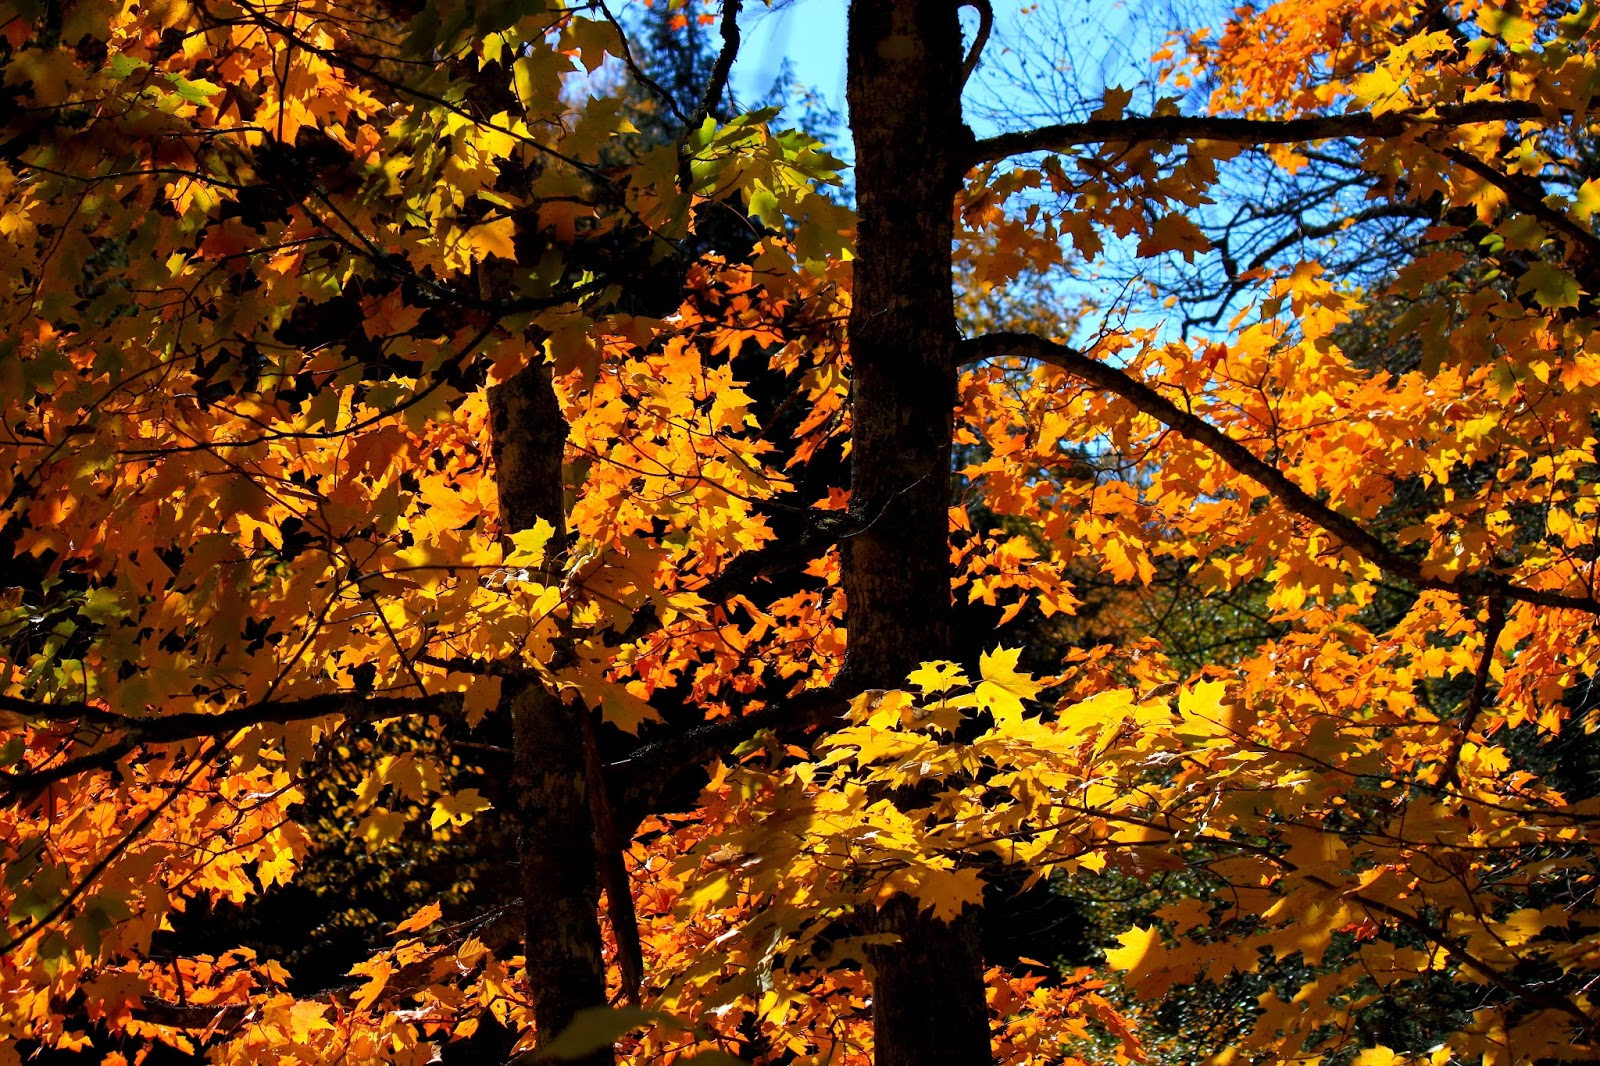
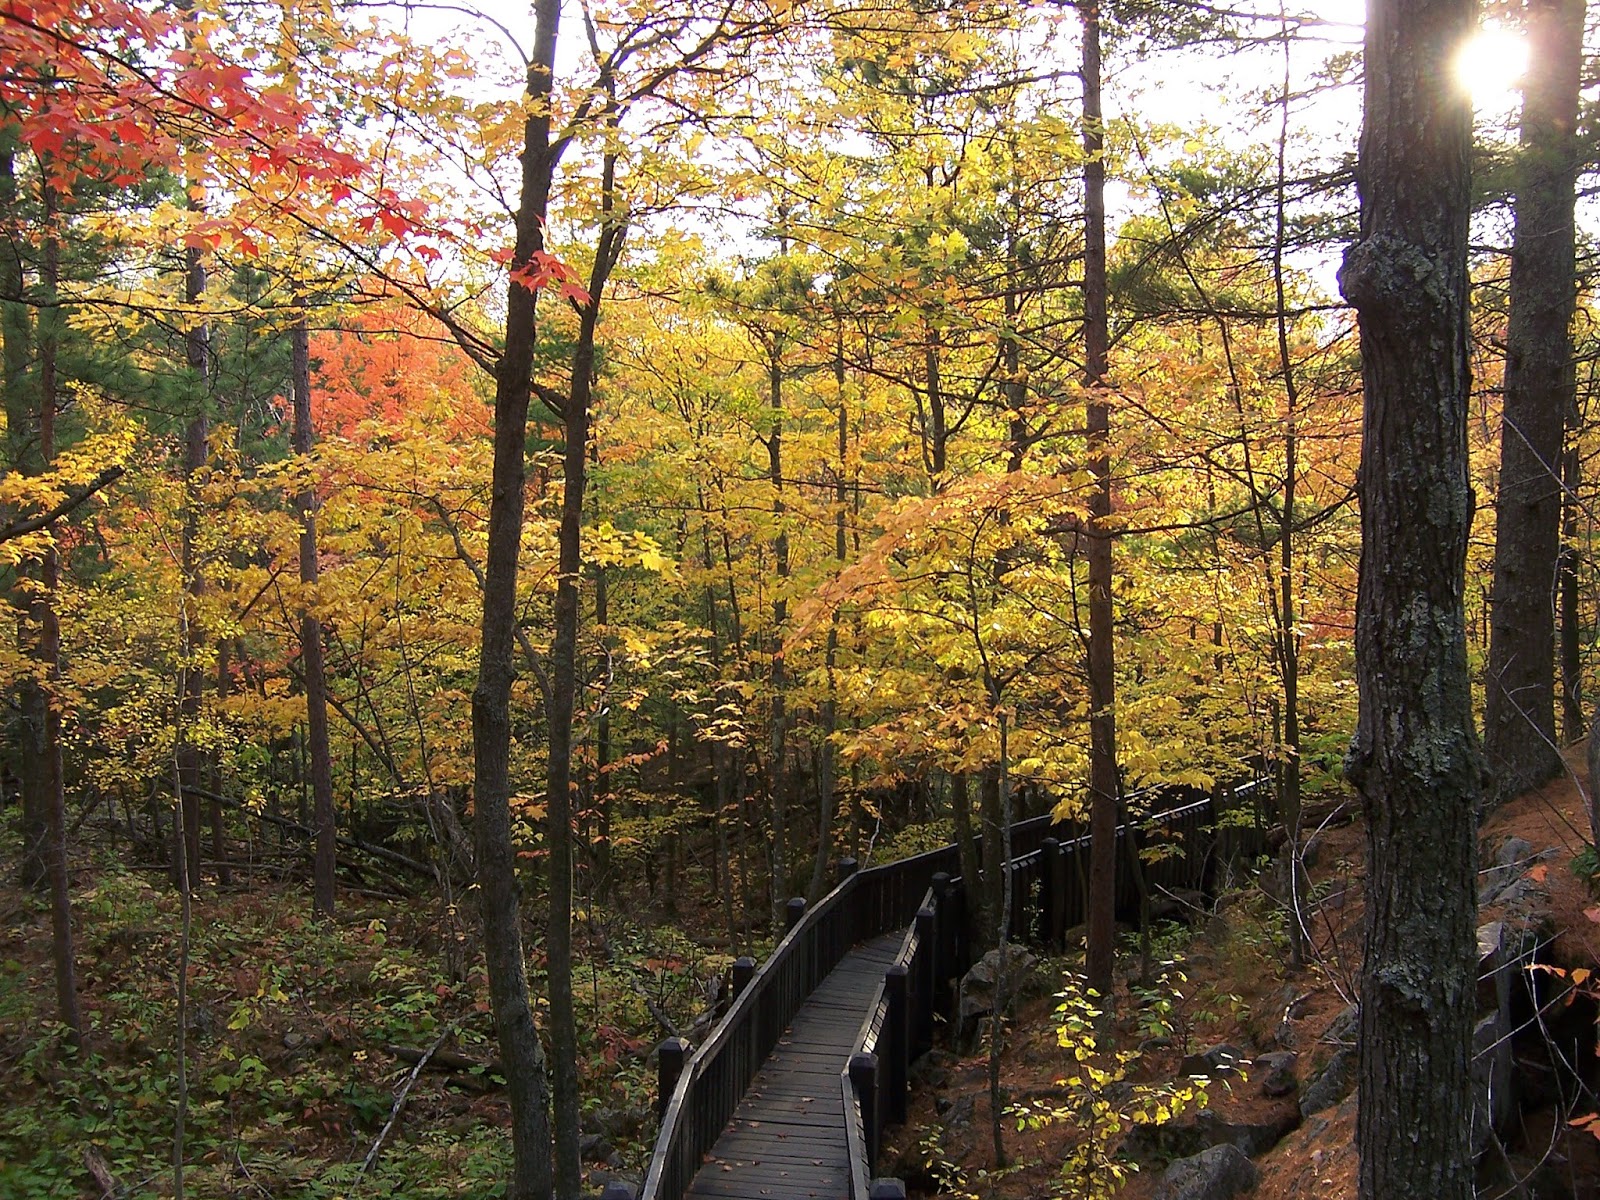
Walks with young children are especially fun in fall when the leaves turn brilliant colors and many flowers have interesting seed heads. They can observe birds flying south in giant V’s and other animals frantically burying food for the winter. It’s a great time for children to collect objects, too.
 You can prepare by gathering some small bags, paper plates, glue, newspaper, a marker, and magnifying glass.
Collecting Fun 
   Learning goes better on a full stomach. Right?  You can pack a picnic snack and explain you are taking a walk to look for signs of fall and collect colorful leaves, seeds, and pebbles which stay the same in any season but are fun to collect. Take along an extra bag for paper garbage to clean up the area, too.
  Fields, bike paths, shorelines, cemeteries, and college campuses have a variety of trees and beautiful surroundings. Encourage children to collect and count many different types, sizes, colors, shapes, and textures. You can include a library book of tree identification to help answer questions about why leaves change colors and fall.
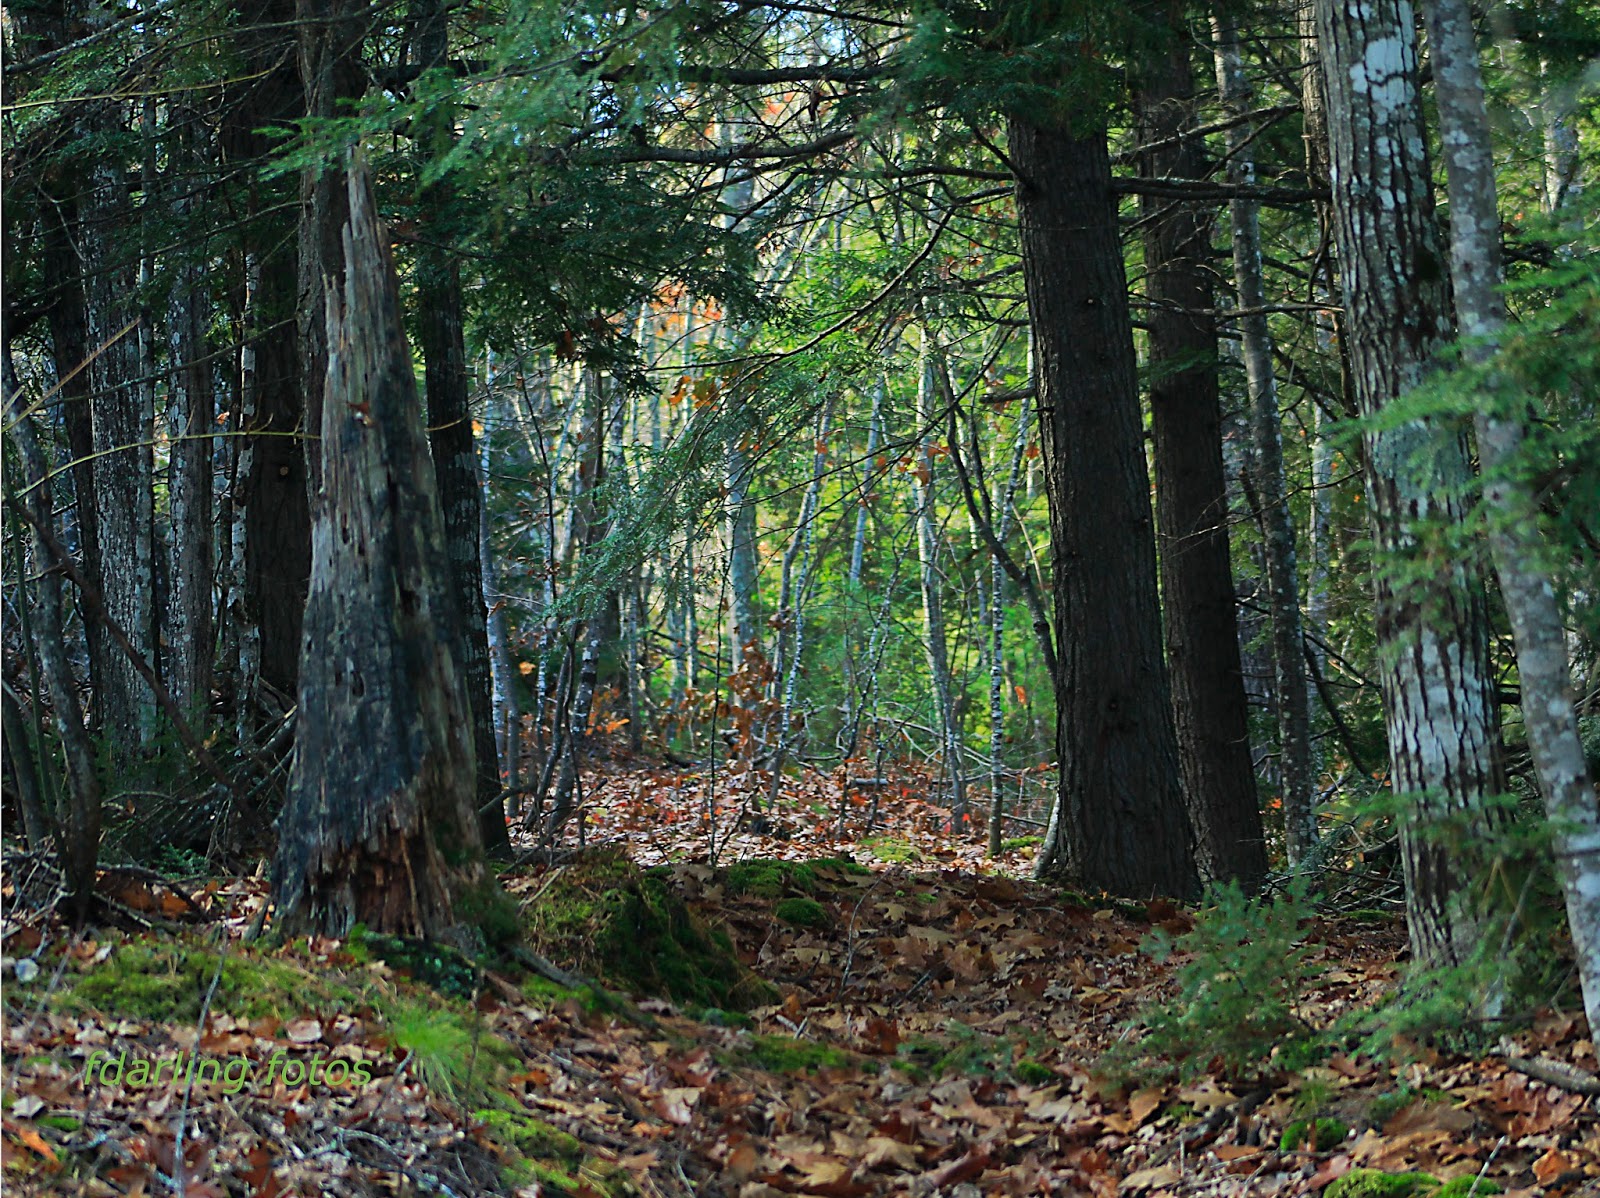
Collect and Count
Sorting Skill
  After collecting and snacking return home to sort out materials on newspapers based on characteristics. Print a title on each paper plate like leaves, seeds, or pebbles.
   Next label more plates with characteristics (attributes). For leaves, you may use five plates labeled red, orange, green, brown, and mixed colors.  Plates for seeds may be acorn, maple, and flower and weed seeds, large, and small. Pebble labels may be large, small, shiny, dull, smooth, rough, sharp, soft (sandstone) hard black, brown, white, speckled.
   Casually help your children decide where the objects belong. Before you take a break, spread leaves in paper toweling and insert them in a large book. (Back to back cookie sheets will also work.) Then place some heavy weights on top to flatten the leaves as they dry.
 When you’re ready for another 
Discuss What You Collect - Similar & Different??

project, take out paper plates, marker, and glue. Children can glue the sorted objects to make designs, a number, category, or their name. Children like to glue leaves, seeds and rocks on plates as a collage, take a photo, and send it to extended family or show during the next FaceTime.

 Discuss different attributes of objects as children glue them on the plates. Young children will develop small hand muscles and learn to use small dabs of glue.  It is very tempting to take a glue bottle and squeeze it neatly for children or place an object just so.  Instead give tips on how to hold the bottle and leave the rock where it is. The end product is not really important. It’s the process. For more family fun see grandparentsteachtoo.blogspot.com and wnmufm.org/Learning Through the Seasons podcasts and live.
Photos: Fran Darling, fdarling fotos

Tuesday, October 11, 2016

Planting Bulbs Fun with Children


As You Prepare for Winter -- Plant!!
Preparing for winter is another opportunity to teach young children science, geography, and economics. Families can plant flower bulbs that will seem like magic to little ones and teach valuable skills.

Planting Together
   Explain that you are planting flowers to surprise everyone in the spring.  Walk around the yard and discuss where flower bulbs could be planted based on good soil, water, sunshine and visibility through windows.
   Shop together for bulb varieties like tulips, daffodils, hyacinths, narcissus, crocus, and alliums. Discuss colors and check for healthy and fresh bulbs. Discuss that wild animals like to eat bulbs and flowers. If you have many animals, you might want to stick to daffodils and narcissus. Squirrels and chipmunks may also move bulbs around. 
  Make a big deal of reading the planting directions on the back of the package out loud. Read the steps several times out loud and plan the planting sequence together. 
Follow & Discuss the Directions Fully
 Who will do each step?
   Examine the bulbs and notice texture and size.  Explain there is a small plant inside that stays cool all winter and then will grow when the temperature gets warmer. Where is the pointed side of the bulb that must face up?  What will come from the pointed side? (stem) What will come from the round bottom side? (roots)
  Discuss and create a planting assembly line. Make a single hole for each, large circle, or a trench five inches deep.  With the pointed side up. Sketch a quick map of the flower types and where they are placed. Cover up with soil and give it a few gentle “love pats”.
  When all of the bulbs are planted, water well and cover with mulch, leaves, or both.  Discuss that the soil, leaves, and snow will keep the bulbs warm just like a blanket.

 Teaching Young Gardeners
Draw a Map of Your Ideal Flower Beds
  Gardening teaches children many skills. Young children learn economics by making a planned purchase and checking out prices and quality of their plants.  Adults can show the value of reading directions, writing a list, and following directions. Children can make a 
geographic map to show how beautiful the yard will be. They learn how plants grow and how animals and humans interact in the environment. Children increase science vocabulary and have quality conversations with adults. Your family may want to volunteer for a community or religious beautification project or read library books about plants and children’s gardens.
photos: Fran Darling, fdarling fotos
For more science and math STEM adventures go to -  grandparentsteachtoo.blogspot.com and wnmufm.org/Learning Through the Seasons live Tuesdays at 4:30pm and Saturdays at 8:30 am and pod casts archived on the site.

Wednesday, November 11, 2015

Fun and Thoughtful Fall Art

Make a Family Tree
Late fall is a good time to do family activities with small children that teach kindness and caring for one another, especially for family members who may be ill, alone, or lonely.  This Thanksgiving project creates a family tree full of pictures and messages.
  You’ll need some brown wrapping paper, colored paper, children’s scissors, glue, markers, crayons, and family and pet photos.
Caring Family Tree
  Draw a tree with a trunk and branches using markers and crayons. The tree can be very large or the size of two pieces of computer paper.  It can be sent in pieces in a large envelope ready to be put together at its destination.
  Young children will enjoy coloring the bark and adding squirrel holes. To make leaves, trace hands on colored paper and cut them out. Print family members’ names on the leaves with messages of love, sentences remembering good times, and reasons to be thankful.  Children can dictate sentences about  good times with relatives. Fun and humorous times like swimming, fishing, or playing ball will bring smiles to someone who needs them.

Glue Photographs to the Leaves
  Draw
  Children  can add drawings or glued on photographs to the leaves. Do this activity over a few days in very short periods of time since children need time to think and draw. Take a break often and do an active fun activity or snack and read if you want good quality drawings.
   Adapt this idea for different ages.
Very young children can make circles and color them or add string for balloon. They can trace their little hand on a bigger leaf.
All ages can dictate short sentences to an older child about something fun they did with Grandpa and Grandma like visiting the fair, attending a college football game, or cooking.  It’s a good chance for older children to practice penmanship.
 Include the family pet.  They can make paw prints on the leaves. Children may add a few messages of love from the pets. Trace their paws or if you’re adventurous, dip their paws in poster paint.

Write Messages on the Leaves
If mailing a tree, a few leaves may be cut into large puzzle pieces while keeping the rest the intact. Relatives offer need help putting up the family tree so offer to visit and bring along the children. Young children can be taught how to visit someone who is ill and what to say and do to bring them comfort.
  Children may want to add little extra decorations like a squirrel, a few birds, or bird’s nest in future visits.
  The leaves may also have quotes from famous people like Mark Twain or Yogi Berra. “When you come to a fork in the road, take it.” “Take it with a grin of salt.”
Photos: Fran Darling fdarling fotos 

More Ideas and Activities....See the authors’ book “Learning Through the Seasons” at area bookstores and grandparentsteachtoo.org. For more help to prepare young children for success in school see the authors’ web site: www.grandparentsteachtoo.org. Also check our audio Podcasts WNMU Radio, 90; Youtube video activities; and join us on Pinterest

Tuesday, October 6, 2015

Making, Raking, and Painting Leaves

 
Take a Walk to Collect Leaves
Young children’s minds are wondrous creative gifts. We sometimes forget how much they can absorb. Fall is an excellent season for science and art learning fun and they don’t take much time.
  You’ll need coffee filters, paper towels, child safety scissors, watercolors, a dinner plate, and leaves
  Take a short walk and collect some colorful leaves. Explain how leaves are nature’s food factories.  They take water from the ground through their plant roots.
  Introduce a few science terms. Young children learn long dinosaur names and master a DVD controller so why not a little science?
Science Concepts
  Leaves take a gas called carbon dioxide from the air (that we exhale) and use sunlight and water to turn this gas into glucose (sugar) for the plant and oxygen for us to breathe. A green chemical called chlorophyll helps make it all happen and covers up other beautiful leaf colors.  Plants use the sugar as a food for energy. This is photosynthesis meaning putting together with light.
  In fall the tree gets ready to rest for the winter and live off the sugar. There is less sunshine and no need for chlorophyll so the tree shuts off water to the leaves with  little walls and we get to see all the colors that were hidden by the green as leaves die and fall to the ground. Children can act this out.
Watercolor Fun
  Help your children identify all of the leaf colors before placing leaves in a heavy book to press.
Identify Colors Along the Way
Then take out a few absorbent coffee filters, watercolors, and a plate of rinsing water. Teach the kids to rinse off their bush to keep it clean.
  To make maple leaves, children can spread fingers and trace their hand on a filter. For oak leaves trace their foot or palm with fingers snug together.
  After checking that your children are grasping the scissors correctly, help them hold and cut out the filter leaves. If they cut out jagged leaves, no problem.  They are doing the best they can right now.
  On a paper towel make a few water colors they observed on real leaves like red, yellow, purple (red and blue) orange (red and yellow) brown (orange plus a little blue or green plus a little red.
  Children can now paint their filter leaves.
Continue to Use Science Words
The watercolors will blend together. Allow the leaves to dry and press in a book or gently iron, if curly. Tape them in a sunny window or glue on a cardboard circle to make a wreath.
 Use the science words at least six times on future walks and discussions together.  Encourage them to explain to someone else how leaves turn colors.

Photos: Fran Darling, fdarling fotos

More Ideas and Activities....See the authors’ book “Learning Through the Seasons” at area bookstores and grandparentsteachtoo.org. For more help to prepare young children for success in school see the authors’ web site: www.grandparentsteachtoo.org. Also check our audio Podcasts WNMU Radio, 90; Youtube video activities; and join us on Pinterest

Friday, November 14, 2014

Fun and Learning: Lasagna Gardening


fdarling fotos
Fall is a great time to get out and garden with your kids and grandkids even if there is a little snow. It is not too late to make new successful garden plot with good soil. Children will hardly be able to wait until spring to start planting.
  Patricia Lanza has an easy way to make new garden beds and start the process for growing beautiful, healthy plants: Lasagna Gardening! Families can start late into the fall even though there is snow since there is no tilling, digging or weeding involved. Children will be layering newspaper, cardboard and other biodegradables right on top of the grass patch you want to turn into your new bed. These materials breakdown and also eventually provide food for worms, essential to making healthy nutrient-rich soil.
  Start by talking and thinking with children, making a list as you go. What do you need for plants to grow besides good soil: sun, water, and warm temperatures. Where do you have all these things in your yard? How big is this space? How much do you want to plant? Will you have room? Talk about favorite vegetables and flowers. Think about their colors and plants sizes. Will these plants grow in your area?
  Now plan and gather materials for the layers. To get good soil composition, you need some dry brown materials (carbon) and some fresher green materials (nitrogen). Do you have old of newspaper or cardboard with no colored or glossy pages? What about leaves, hay, other garden waste or grass clippings, peat moss, pine needles, saw dust, wood ashes? You can also work in other kitchen compost: coffee grounds, eggshells, and tea bags. Do not use pet waste.
  When you have gathered all the materials you found, it’s time to create your layers. Wet down layers of old newspaper and lay out over the area you chose for your garden, 5 or more sheets thick. Layer one is leaves, peat moss or other dry brown organic material on top of the newspaper. Then spread a thin layer of green or compost materials. Repeat this process until you build 5” to 12” of layers. This will give enough depth to allow room for the roots of your new plants to grow.
  Finally, water until spongy. You can cover with plastic and a few rocks.
fdarling fotos
 In the spring, the layers will have settled and be ready to plant when the ground has thawed and danger of frost has passed. In a future article we will talk about painting stones, and borders to place in your spring garden. Kids love painting and making colorful garden containers, a good wintertime activity.
  Particia Lanza has many more garden preparation tips on her web page and book called “Lasagna Gardening: A New Layering System for Bountiful Gardens: No Digging, No Tilling, No Weeding, No Kidding!” or find Patricia's How To site: http://ourgardengang.tripod.com/lasagna_gardening.htm
Photos: Fran Darling-fdarling fotos
More Ideas and Activities....See the authors’ book “Learning Through the Seasons” at area bookstores and grandparentsteachtoo.org. For more help to prepare young children for success in school see the authors’ web site: www.grandparentsteachtoo.org. Also check our audio Podcasts WNMU Radio 90; Youtube video activities; and join us on Pinterest


Tuesday, October 21, 2014

How to Make Fall Fun Last Longer

fdarling fotos
Families can make Halloween last a little longer when they do a few activities with fancy gourds.
Grandma Dee purchased gourds with her grandchildren and they discussed the many different shapes and sizes. What animals could these gourds become? Some had long necks like swans.  A few were small round gourds perfect for hedgehogs, porcupines, little pigs, owls, and small turtles with play dough feet. Long necked gourds could be swans and geese.  They hammered small nails into the round gourds and pushed toothpicks into holes for hedgehogs and porcupines.
Painting Gourds
Completely painted gourds must go through a special drying process or paint will bubble and peel and the gourd will mold. To paint only a face or design, wash them first with soap and water. Rub the skin with full strength vinegar or mild bleach, and allow to dry thoroughly under a warm light.  As a precaution place the gourds in a plastic bag over night. In the morning check for moisture in the bag.  If there is none, it is fine to paint. If there is moisture, place the gourds under a light again. If you’re in a hurry, dried gourds are available at craft stores and are easy to paint.
   Grandma and the grandkids only wanted them to last for two weeks. While the gourds dried they discussed different facial expressions that could be painted on the pumpkins and gourds. They looked in the mirror and made faces. Then to practice they drew the expressions on paper.
Some of the grandchildren decided to use marker or paint to make fancy designs of triangles, swirls, curls, and squiggles with faces.
  Older children may want to press on gold thumbtacks and upholstery tacks or use strong quick drying glue to add colorful gems available in craft departments. After painting, older children can teach younger ones a finger play.
5 Little Pumpkins Fingerplay
5 Little pumpkins sitting on a gate (Hold up 5 fingers).
The 1st one said "Oh my! It's getting late!" (Hold up 1 finger. Then point at a clock.)
The 2nd one said, "It's very windy out here!" (Hold up 2 fingers and move like the wind.)
The 3rd one said "But we don't care!" (Hold up 3 fingers as you do when saying I don't know.)
The 4th one said, "Let's run and run and run." (Place 4 fingers on floor and move as though they are running.)
The 5th one said "Let's have some fun." (Wave 5 fingers and arms in air as though dancing!)
WOOOOOSH went the wind. (Make a loud woosh sound.)
OUT went the lights. (Clap hand very loudly when you say OUT.)
5 little pumpkins rolled out of sight. (Make a rolling motion.)
Photos: Fran Darling fdarling fotos & Mark Nowicki
More Ideas and Activities....See the authors’ book “Learning Through the Seasons” at area bookstores and grandparentsteachtoo.org. For more help to prepare young children for success in school see the authors’ web site: www.grandparentsteachtoo.org. Also check our audio Podcasts WNMU Radio 90; Youtube video activities; and join us on Pinterest

Tuesday, October 7, 2014

Brain Activities Key For Ages Two To Five

fdarling fotos
 Why is it especially important to do activities with children ages two through five? It is so much easier to put them in front of a cute movie or fast moving game on our phones or any sized computer.
  According to research, children need to understand at least 20,000 words when they enter school. These words are learned from conversations and reading with adults. Brains with 20,000 words say,” Oh, yes. I heard this before when Dad read to me and we talked while playing blocks on the floor. No problem.”

  Children who sit in front of kids movies and computers and aren’t read to, learn only 3,000 words. Since the devices use the same words over and over, these children have a much harder time learning to read. They haven’t heard or used the large variety of words they encounter in grades K-3.

Making Time For Kids

   How and when do we fit this into busy lives? Evidently this time must be scheduled. If something else must be dropped, if the house is not exactly spotless, if shopping is put on hold, if a phone call goes unanswered, if a favorite show isn’t watched, so be it.

  This window of opportunity happens only once in a human being’s life. Brain cells develop and make connections rapidly ages two through five.  We cannot see the brain, but just observe the difference between a two year old and a five year old body.  Think of what must be happening in the brain.

  What can we do? Schedule thirty-minute active or quiet activities so there is something to talk about. Doing activities naturally encourages conversations. 


fdarling fotos
  These activities can involve materials already found around the home and neighborhood.  For example, take a walk and talk about what you see. Pick up leaves and acorns and gather them in a bag. Search for animals getting ready for winter. Talk about who, what, when, where, why, and how questions. What colors are the leaves? Why are the squirrels scurrying around?


When you make time again, children can quietly create a collage using leaves, acorns, and glue while you talk through what they are doing. When dry, tape the art on a wall or refrigerator. Praise how beautiful it is in front of others. Notice how children used their thumbs and fingers. Those muscles are building and getting ready to hold crayons and pencils correctly.

Teach Others

  Is there someone in your extended family or neighborhood who doesn’t know how to play and talk with children? Invite them over. Do an activity together. Share this column. Based on your e-mails, these columns are sent around the world.

   Photos: Fran Darling:fdarlingfotos

More Ideas and Activities....See the authors’ book “Learning Through the Seasons” at area bookstores and grandparentsteachtoo.org. For more help to prepare young children for success in school see the authors’ web site: www.grandparentsteachtoo.org. Also check our audio Podcasts WNMU Radio 90; Youtube video activities; and join us on Pinterest

Tuesday, September 2, 2014

Pressed Flower II -- Fun with Kids


Photo: fdarling fotos, Fran Darling
It doesn’t matter what activities adults choose to do with young children. It only matters that adults do them often and have fun and talk together.  Pressed (dried) flower projects are good choices in late summer.
  These glass luminary candles with pressed flowers are beautiful gifts.
Materials Needed:
  You’ll need glass votive candle holders, thin clear tissue or facial tissue, white glue thinned with a little water, small pressed flowers or leaves.
  Coat the outside of the glass with the glue and water mixture and cover with tissue.
Arrange pressed materials on the tissue covered votive and brush on another coat of glue. Cover the entire outside with another tissue and glue to hold the flower or leaf in place.
  Coat with 3 or 4 more layers of glue to seal it making sure you let it dry between coats. You can use a few coats of spray on acrylic sealer or other sealer that dries clear. The glass will have a frosted look. Dry thoroughly. When the candle is lit, the light shines through the pressed materials for a beautiful effect.  Young children can substitute tea lights lit by a battery for safety.
Frames, notes, and Bookmarks
 Framed pressed flowers make very delicate pictures that do not fade. Children can use watercolors to paint wavy lines and swirls on paper. Spatter some water on the paper or run through a dripping water faucet to blend the paint.  They can be used for thank you notes when dried and ironed on low.
Photo: fdarling fotos, Fran Darling
  While the paper is drying, children can choose some small dried flowers, dried ferns and burning bush leaves. Apply a few dots of white glue on the back of the foliage.  Wipe off any excess glue that may seep around it. Then place a heavy book on top and let dry overnight. Insert the picture in a small frame when dry.
  Pressed flower cards and bookmarks are made the same way. Use card stock paper so the paper will not flop around from the weight of the dried material. Place a heavy book on top and dry overnight.
  Search children’s poetry books for a few poetic lines or make up your own.
Use colored markers to make designs around the flowers or add a short quote or note. You can then write your message on the card and send it to someone special, or you keep it for future use to be given for occasion. Pressed flowers can also be used to decorate gift packages, rock paperweights, and magnets. Notes will not go through the mail because they are lumpy. Place inside a gift box.
More Ideas and Activities...
See the authors’ book “Learning Through the Seasons” at area bookstores and grandparentsteachtoo.org. For more help to prepare young children for success in school see the authors’ web site: www.grandparentsteachtoo.org.
Also check our audio Podcasts WNMU Radio 90; Youtube video activities; and join us on Pinterest.
 

Saturday, August 23, 2014

Pressing Flowers with Children


fdarling fotos
 Gardens and fields are full of flowers for a few more weeks.  It’s a perfect time to teach young children how to press flowers and use them to decorate their own art. Adding a few real flowers makes projects 3D and cheery later in January. For best results pick fresh flowers on a dry summer afternoon when there is no rain or dew on them.
Pressed Flowers
  Go for a walk around the neighborhood. Young children can practice their manners by asking adults you know if they may pick a few little flowers for an art project.    The neighbor can receive a pressed flower thank you note later. Look for flat flowers like pansies, lavender, baby’s breath, daisies, geraniums, herbs, decorative grasses, and weeds. Petals, and leaves from large shrubs like hydrangea also work well since the whole flower is too big. Children can carefully snip the flower with ½ inch of stem for handling. Point out the parts of a flower and their job to help produce seeds.
  Carry a thick book and paper toweling with you so the flowers can be pressed immediately.  To avoid damaging the book, flowers should have a sheet of toweling on the top and bottom. Some people also add waxed paper or newspaper on the top and bottom. Do not add so many flowers and leaves that the book is puffy and out of shape.  The book will be ruined and there won’t be enough pressure. Leave at least 1/8 inch of pages between flowers.
Easy Drying
fdarling fotos
  Be sure the flowers and leaves are not folded or crinkled. Change the paper every day to help the flowers dry faster and prevent a natural chemical reaction that makes them turn brown.
  Place a pile of books or some other weight on the pressing book. Drying time will vary depending on the temperature, humidity, and type of flower. Small flowers may be dry within four to five days. Larger flowers could take eight days or longer.
 Dry flowers will be stiff and papery. Removing the flowers before they are completely dry could cause them to shrink and pucker.  To keep good color and form, place them in consistent heat throughout the pressing process. Attics, car trunks, and garage shelves work well in warm weather.
  Store dry flowers in a box between layers of tissue paper in a warm dry spot until you are ready to use them. Pressed flowers can enhance writing paper, create greeting cards, decorate gift tags, and add to children’s drawings. Use white glue to hold the flowers and let them dry completely. Decoupage or clear nail polish will keep them shiny.
Photos: Fran Dealing: fdarlingfotos

More Ideas and Activities...
See the authors’ book “Learning Through the Seasons” at area bookstores and grandparentsteachtoo.org. For more help to prepare young children for success in school see the authors’ web site: www.grandparentsteachtoo.org.
Also check our audio Podcasts WNMU Radio 90; Youtube video activities; and join us on Pinterest.

Sunday, August 17, 2014

Preparing Kids for Change in Fall


 Children behave best when they know what to expect and have practiced what to say.  Children feel more comfortable in social situations like the first days of school if they have practiced the words needed express their feeling and needs.


fdarling fotos
  Visit the school, their room, and playground together. Where will coats, lunch, and book bags be placed? Where is the bathroom?
  Discussing and role-playing some of the tips below can be fun for the whole family, as long as, everything is kept light. The goal is to help, not create more anxiety.
Have a Plan
Experts suggest young children need 10 to 12 hours of sleep each night. Plan a healthy breakfast together and send a nutritious snack for mid morning. If children aren’t hungry when they first wake up, give them some water or milk and bag of nutritious cereal, toast, and cheese to munch.  This helps reduce a midmorning grouchy sugar low.
     How much time is needed to dress before breakfast and travel to school? Begin adjusting bedtimes to approximate the new schedule. Have several trial runs and add 10 minutes.
  Choose and set out clothes, backpack with notes and assignments, shoes, and weather appropriate outerwear the night before to avoid morning rush and family stress.
  Practice saying something nice to send the family on their way each morning. Attitude is important. Say “hi” with a smile to the bus or carpool driver and others.  
  At school hang up clothing and follow other school and classroom procedures. Walk and use an “indoor” school voice and open doors for adults and others. When adults use a signal to get attention, be quiet immediately and ready for instructions.
Practice Courtesy
There are many opportunities to be kind, courteous, and helpful. It is ok to let someone else go first in line or the drinking fountain if you are there at the same time. When you make a mess, clean it up. If someone else makes a mess, help them clean up.  If someone drops something, help pick it up. Place trash in the trashcan in and out of school.
fdarling fotos
  Welcome others to join your group at recess or any other time. Welcome someone who is new to the school. Talk to another child who looks sad and ask, “Are you ok?” If there is something dangerous or hurtful tell an adult in charge.
  Use the words ”please,” “thank you,” and “excuse me.” Close the bathroom door, flush the toilet, wash hands, dry, and place the towel in the trash. If your stomach hurts, tell the teacher.
  At the end of the school day place all notes and papers in your backpack and be ready to share them with your family.
Photos: Fran Darling, fdarling fotos
More Ideas and Activities...
See the authors’ book “Learning Through the Seasons” at area bookstores and grandparentsteachtoo.org. For more help to prepare young children for success in school see the authors’ web site: www.grandparentsteachtoo.org.
Also check our audio Podcasts WNMU Radio 90; Youtube video activities; and join us on Pinterest.