Showing posts with label measure. Show all posts

Saturday, August 11, 2018

Training Little Sous Chefs

Make Cooking Delicious, Educational and Fun!
How can we help our children become foodies with a broad palate? How can we teach them to make their own food by themselves when they are a bit older instead of complaining, “There is nothing to eat around here!”  According to professional cooks and nutritionists, hands-on family cooking lessons in the family kitchen make the difference. 
  You can teach some easy old favorite recipes or try other resources to make cooking delicious, educational, and practical for busy families. Cooking helps with math, especially fractions, measuring, doubling, and halving. Reading directions teaches careful reading, questioning, and problem solving. Cooking also teaches perseverance because a lot can go wrong and cooks need brain power and creativity to make it right. While cooking, read out loud and go over directions to check for understanding. Very young children can get equipment out of the cupboards, do stirring, and learn to use equipment under supervision. 
Looking for Help
  If you want to get a little help and share expense with friends, there are cooking kits for kids. Little Sous Kitchen Academy is a subscription service designed specifically to educate and empower children in their process of learning how to cook. 
  The subscription service sends children ages 5-12 a box each month, and aims to "change the way kids learn how to cook." The boxes come with easy-to-follow cooking lessons, collectible recipe cards, activities, posters, stickers, and high-quality kitchen tools that are safe for children to use. Their website mylittlesous.com has a few archived selections to get started.
 Other sites are Foodstirs Baker’s Club and Raddish. They all also include special utensils, nutrition information, general cooking instructions, and recipes for a monthly fee. Check out foodstsirs.com and raddish.com. Families can take a look at the sample kits on their sites, too. 
 Families can also use the sites as guides for their own 
Try  Making Slushes in the Summer
simple cooking classes based on family favorites. Then add a little family culture, ingredient geography with a map, and be ready for fun in the kitchen. Older children can be great teachers.
Watermelon and Strawberries
 Here is one recipe to try: Watermelon and Strawberry Slush. Ingredients: 9 cups seedless watermelon pieces without rind, 12 ounces of frozen or 1 ½ cups hulled fresh strawberries. Either strawberries or watermelon must be frozen for slush. Place whatever is not frozen in a blender. Add the other fruit. Blend again.  If desired add a little fresh lemon or lime juice and/or honey to taste and blend again.Serve immediately or refrigerate for up to 1 day. Slushes may be frozen as popsicles.  Serve with some family  adventure stories. With training, older children can use a blender themselves. Encourage yogurt smoothies, too.  For more see grandparentsteachtoo.blogspot.com and wnmufm.org/Learning Through the Seasons. 


Photos: Fran Darling, darling fotos


Monday, March 16, 2015

Kids Love Putty, Goop, and Gak

Parents and Grandparents need quick recipes for fun when children are bored even though that word has been banished from the house. Easy homemade recipes for Wacky Putty, Goop, Gak, and Glop come to the rescue. All of them have interesting texture and creative possibilities.  Young scientists can experiment and observe what happens when they change the recipe slightly.
 Wacky Putty, Cool Goop
 None of these recipes are edible so make sure no one (or pet) in the house eats them. These first recipes are recommended for ages three and older.
 For Putty, mix one part white school glue (Elmer’s) with one part Sta Flo liquid starch found at grocery stores. Stir the ingredients with a spoon and then knead with your hands.  Add a little more starch if the mixture becomes too sticky. After children stretch it, create a ball, bounce it, roll it into worms and other shapes it may become sticky again. Simply work in a few drops of starch. Three drops of food coloring may be worked in to mix colors and exercise little fingers.
  To make Goop, place one part salt, one part flour, and one part water in a bowl so children can mix it in a circular pattern with a spoon. Once mixed, place in a strong freezer plastic bag or double bag with a strong closure. Place drops of one or more food colorings in the bag so children two and older can squish gently and make secondary colors.
  Spread goop in a box or can and press macaroni while still wet. Allow to dry and paint with poster paint.
Rainbow Glop and Gak

  Rainbow Glop is a fun for toddlers and older.
Mix 1/3-cup sugar, 1-cup 
cornstarch, and four cups cold water. Heat on low and stir (adults) until thick. When cool, place in a strong freezer bag (or double bag) and add three drops each of different food colors. Zip lock closed and reinforce top and seams with packing tape or duct tape. Children can squish into rainbow colors.  This is excellent to teach how primary colors mix to make secondary colors of purple, green, and orange. Do not pour any kind of Goop down the sink.
There are Slime and Gak recipes with and without Borax. To make a simple slime mix without Borax use equal parts StaFlo laundry starch and Elmer’s white glue. Other white glue does not work well. To experiment, add a little more starch to the mix until it is stiffer and you can place a straw in it and blow amazing bubbles. Recipes can be refrigerated for several days but are not long lasting. Throw away in the garbage .

Photos: Iris Katers; Fran Darling
More Ideas and Activities....See the authors’ book “Learning Through the Seasons” at area bookstores and grandparentsteachtoo.org. For more help to prepare young children for success in school see the authors’ web site: www.grandparentsteachtoo.org. Also check our audio Podcasts WNMU Radio 90; Youtube video activities; and join us on Pinterest

Friday, January 9, 2015

Study Snow with Kids


fdarling fotos

Families can study snowflakes almost like Snowflake Bentley (1865-1931) did throughout his life in Vermont. On a snowy day put a mirror on a piece of cardboard. Place a can of hairspray, a cooking pan lid, the mirror and cardboard outside until cold. The equipment must be as cold as the air. When cold enough, spray the mirror with hairspray.
  Catch a few snowflakes on the mirror. Quickly cover it with the pan cover. Leave the covered mirror outside for about an hour. Take the all inside and show children snowflake imprints on the mirror. Study them with a magnifying glass. Try taking pictures of the snowflakes or drawing the snowflakes on paper.
   How many points do they have?  If they were not damaged by the wind, most should have six points. At the next library visit check out “Snowflake Bentley” by Jacqueline Briggs Martin or Wilson Bentley’s book “Snow Crystals” filled with hundreds of his snowflake photographs.
Never Eat Snow
  Children find clean snow so tempting to taste. Unfortunately even fresh snow is full of dirt. How can you convince them to stop eating snow?
  A snowflake begins to form when an extremely cold water droplet freezes onto a pollen or dust particle in the sky. This creates an ice crystal. As the ice crystal falls to the ground, water vapor freezes onto the primary crystal, building new crystals, which are the six arms of the snowflake.

fdarling fotos
  Show children how dirty snow is with a pan full of snow and a white or glass plate. Bring in a pan of snow and allow it to melt on a plate. Then take out a magnifying glass and look at the dirt specks. You will find even more dirt when snow is a few days old.
  Since children also like to lick icicles off the roof, melt a few of those also and look at the dirt specks.  When her grandchildren were unimpressed, one grandmother informed them these specks could come from anywhere, anything, and be very old.  Grandma asked her grandchildren to think of the grossest kind of dirt and they made a long list. She asked the kids to think of that when they are even tempted to eat snow and ice. They no longer eat the stuff. Instead, Grandma gives them fruit slushes or popsicle treats even on cold days while she reads a book to them.
Measuring Snow
  Young children can compare their snow measurement with the weather forecaster’s. Place a tall cold container outside in an area protected from wind. Insert a ruler. When the snow stops, mark the ruler and compare with the snow reported.

Photos: Fran Darling: fdarlingfotos
More Ideas and Activities....See the authors’ book “Learning Through the Seasons” at area bookstores and grandparentsteachtoo.org. For more help to prepare young children for success in school see the authors’ web site: www.grandparentsteachtoo.org. Also check our audio Podcasts WNMU Radio 90; Youtube video activities; and join us on Pinterest

Sunday, January 19, 2014

Children’s Pie Crust in a Bag


 Young children enjoy being a part of any special preparations.  Holidays may be over, but as the long winter months roll on, making something special for family meals is a great way to share and create. Children shine when praised for cooking projects.  For easy mess-free cooking, make piecrust recipes in a sealable bag.

Ingredients:
2 1/2 cups all-purpose flour, 2 tbsp. sugar, 1/4 tsp. salt, 1/2 cup cold butter, cut into 1/2-inch pieces, 5 tbsp. cold vegetable shortening, 8 tbsp. ice water
 Directions: Help children measure flour, sugar, and salt into a sealable gallon plastic bag. Seal and shake to combine. Add chilled butter pieces and shortening to the bag. Press down and flatten the bag with palms to mix well and produce a flaky layered crust.
  Open the bag and add ice water. Reseal, press, and shake until the dough holds together (add more water, if necessary). Take out of the bag. Turn the dough onto a lightly floured surface and knead together. Divide in half, flatten, wrap in plastic, and chill for 30 minutes.
  Roll out one of the disks on a lightly floured surface until you have a circle that's about 12 inches in diameter. Line a 9-inch pie plate with the dough. Trim any extra from the edges with a sharp knife (adults only). Return to refrigerator ready for the pie. Makes 1 double crust.

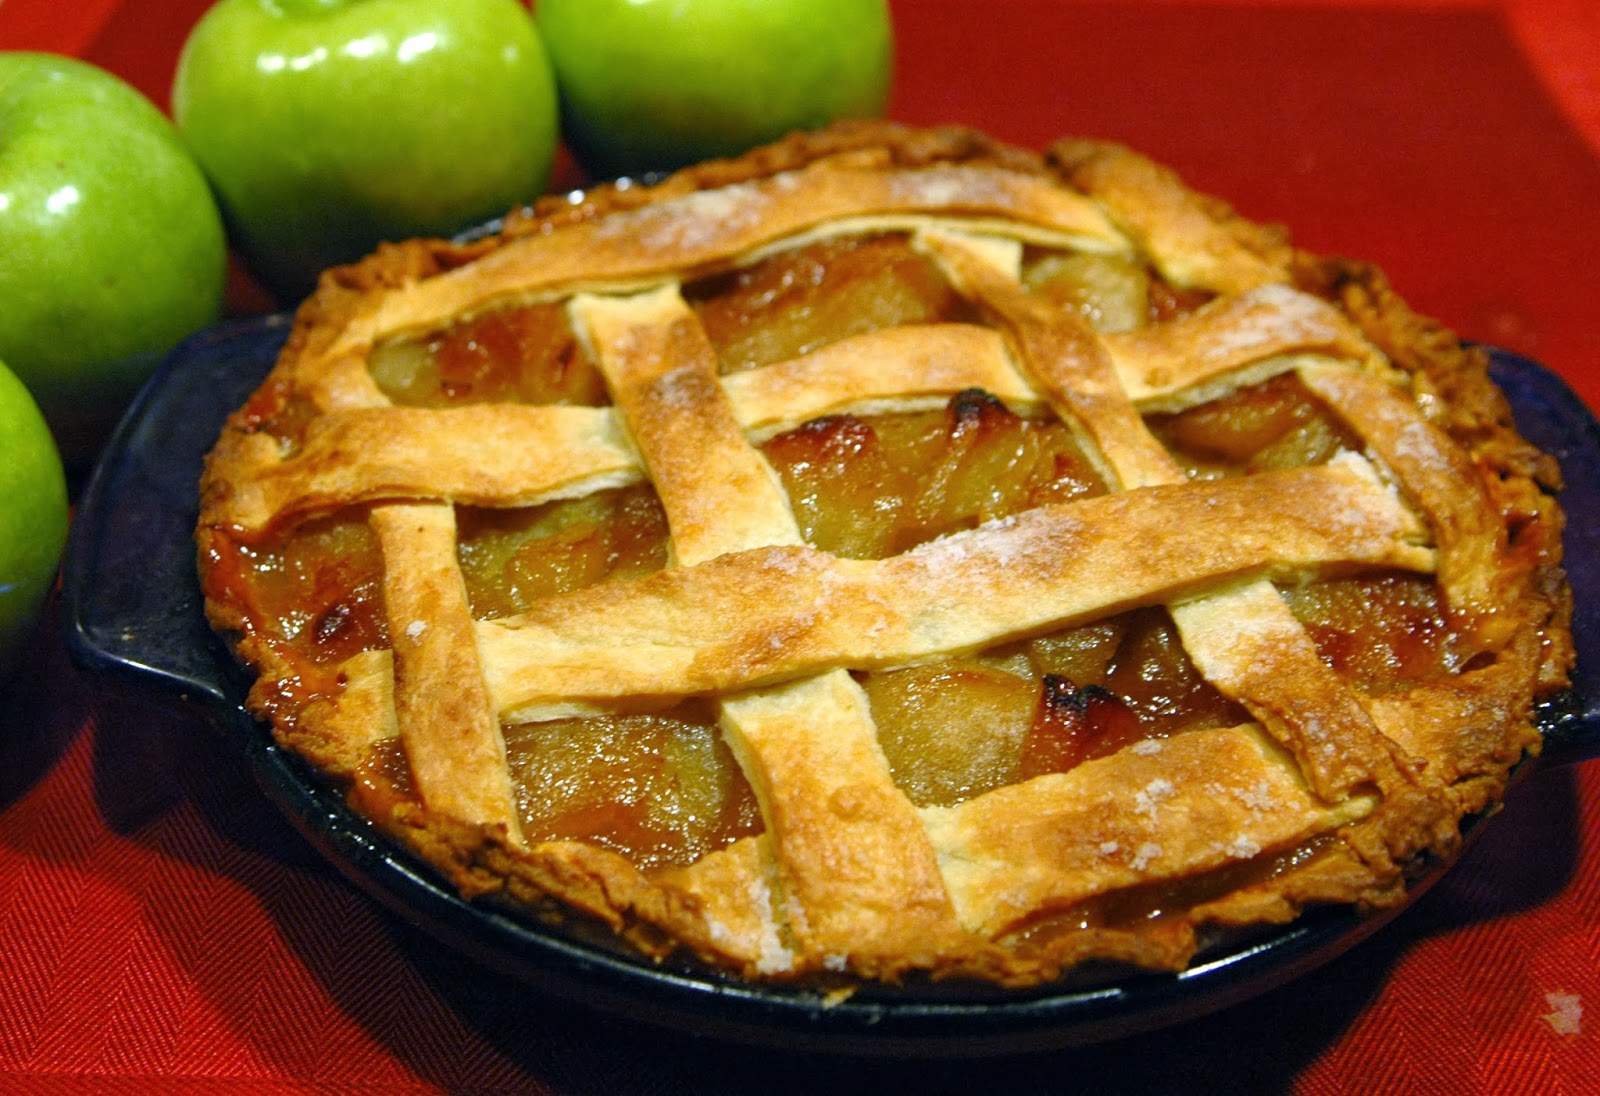
Children’s Apple Pie
Ingredients:
 8 Granny Smith or Cortland apples, juice of 1/2 lemon, 3/4 cup sugar, 1 tsp cinnamon, 1/4 tsp. nutmeg, 2 tbsp. all-purpose flour, pie crust, 2 tbsp. butter, cut into chunks, milk for glaze

Directions:
  Preheat oven to 425 degrees. Once adults peel the apples, younger children may cut apples into ¼ inch pieces with a table knife. Place apples in a large mixing bowl or sealable bag. Pour the lemon juice over apples; add sugar, cinnamon, nutmeg, and flour. Toss well. Empty the spiced apples into the lined piecrust and dot with butter. For a lattice top crust, children cut 14 long strips out of the second piecrust. Working from the middle of the pie toward one side, fold back every other strip. Lay a cross strip across the remaining flat strips. Return the folded strips, then fold back the alternate strips and lay in the next crosspiece. Continue, creating a weave pattern. When one half of the crust is woven, repeat with the other side. Children use thumb and index finger to crimp the edges. Brush the top with milk for a shiny glaze.
  Bake for 45 minutes (with a cookie sheet on the rack below) until crust is golden brown and you can see the juices bubbling. If the crust browns before the pie is fully baked, cover with foil until time is up. Cool pie before slicing into wedges.

For more help to prepare young children for success in school see the authors’ web site www.grandparentsteachtoo.org.
Also check our audio Podcasts WNMU Radio 90; Youtube video activities; and join us on Pinterest.
Photos: http://www.flickr.com/photos/dan90266/42759561/   http://upload.wikimedia.org/wikipedia/commons/a/ad/Apple_pie_filling_arranged_in_the_crust.jpg