Showing posts with label painting. Show all posts

Sunday, September 6, 2020

Quiet Time Talks and Reassurance

What are some quiet easily managed activities you can set up especially during this difficult time?  You can talk together while doing some reading or art for starters. Sit together, do an activity, and model calmness. Listen to what they have to say. Use the 10 second rule before jumping in and help children focus on what they can control like wearing, masks, washing hands, and keeping a distance from others for a while. You can practice how to handle uncomfortable social situations, reassure, and practice routines.  

Reading

 Reading every day helps to quiet children and create normalcy.    Arrange to purchase or check out books and find library programs during this unprecedented time.

Painting with Water

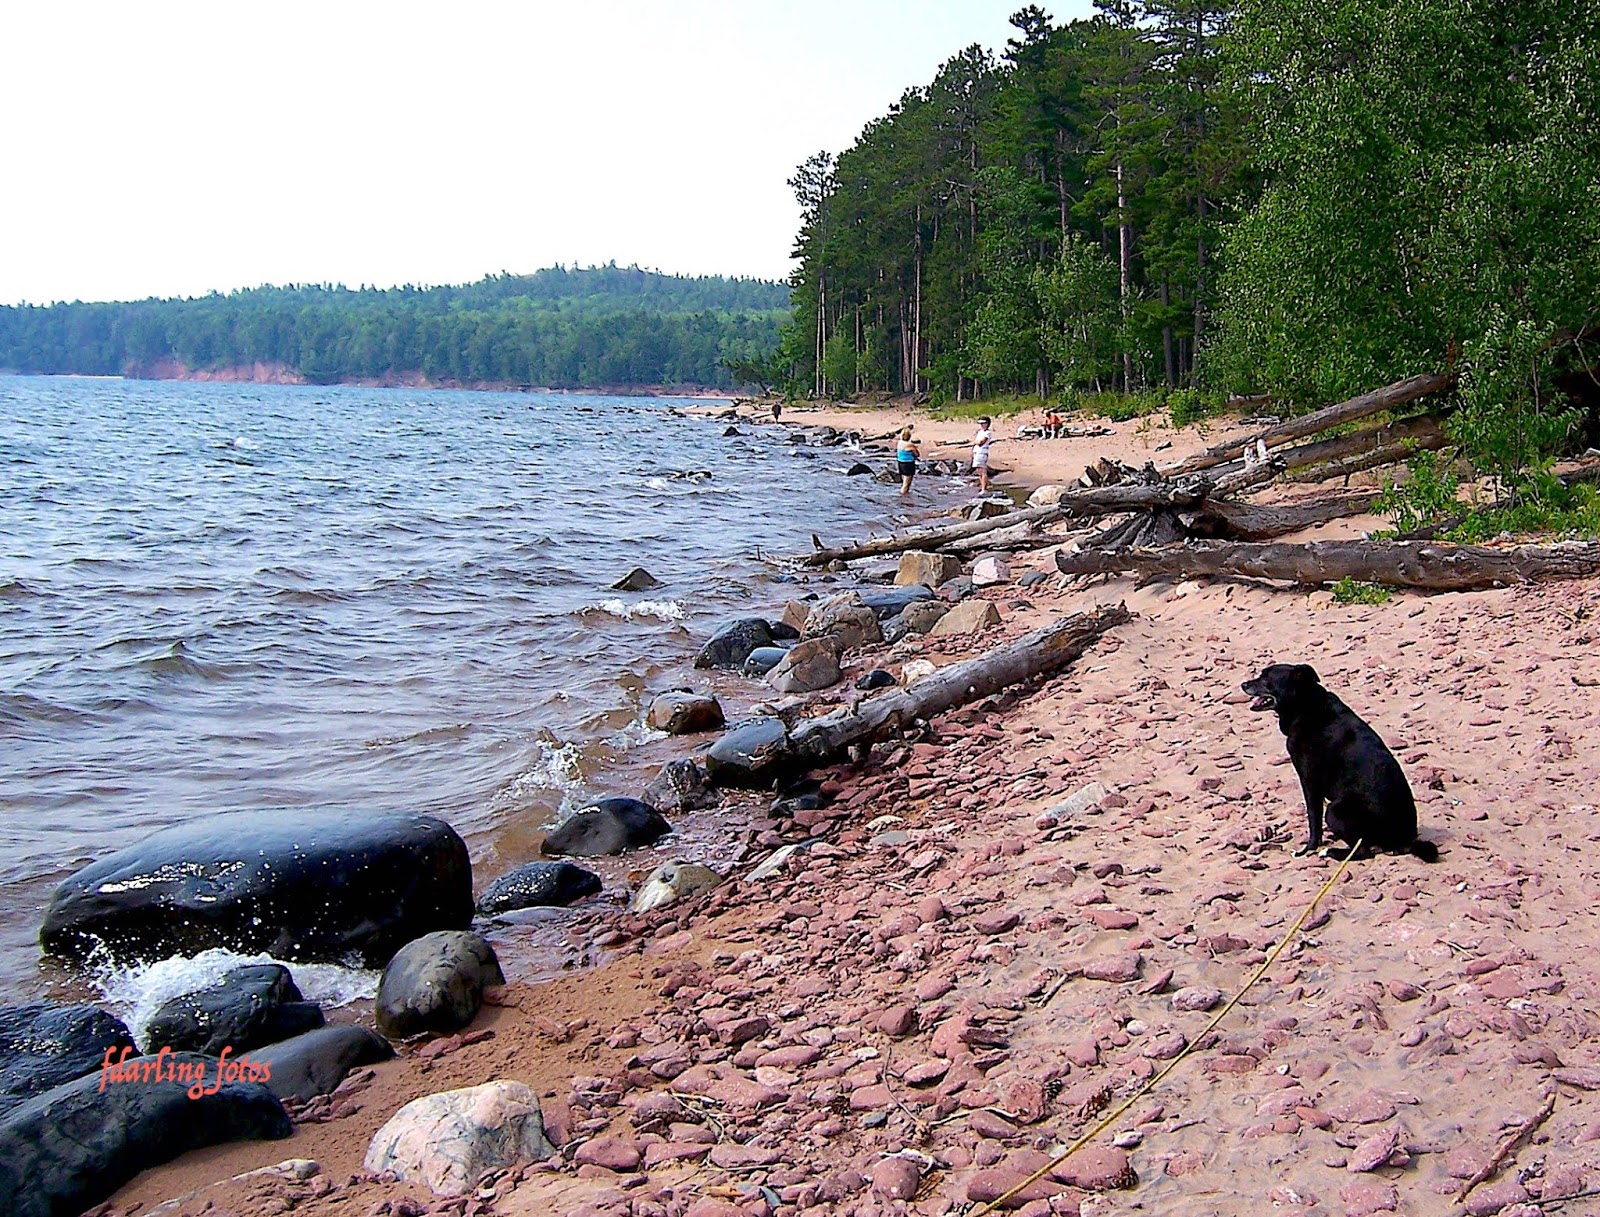
  Use quiet activities to teach expectations and answer questions. Science walking can collect rocks of various colors, sizes, and shapes. At home, set young children up with a waterproof area and provide a small paintbrush and a bowl of water or Mod Podge.  Painting builds strong hand muscles to print letters.  Notice how the color shows up like magic.   A few can be kept in a pocket for holding the first day of school. 

 Pet Rocks  

   Help children use permanent markers to draw a face on the surface of favorite large rocks. Help them glue on a little yarn to make hair with small dots of glue to save glue. Teachers will love you. Can you think of a good name for each rock? Place the friends on your table, bookcase, garden or backpack.

Crayon Resist

  Use a crayon on paper to carefully print your young children’s names in big letters.   Use a capital for the first letter and lower case for the following letters.  Then use water with a little paint color to make a wash over the whole sheet.  The name will stand out and be a perfect door decoration or book cover for a whole series of pictures. You can see dots or dashes to outline names. Show children how to start at the top of each letter to correctly follow the dots to print their names. Praise what they can do. They’ll try their best.

 Favorite Pictures   

  Glue family photograph printouts to a paper decorated with favorite flowers, fruits, animals, vegetables, and toys.  Print a title on each, for example:” My Favorite People and Toys.” Talk with children about choices and use a marker to print the name of each item. This is a good activity to practice letters and beginning sounds of each word.  Staple the pages together to make a little comfort book. 


More Ideas and Activities....See the authors’ book “Learning Through the Seasons” at area bookstores and grandparentsteachtoo.org. Also check our audio Podcasts WNMU Radio 90; Youtube video activities; and join us on Pinterest
Photos: Fran Darling, fdarling fotos

Monday, July 6, 2020

Creative Ideas for Grandkids’ Visits

Grandchildren: My favorite hello and my hardest goodbye.
While we try to teach our grandchildren about life, our grandchildren teach us what life is all about.
We may not be rich and famous, but our grandchildren are priceless—Authors unknown

Here They Come!
 The grandchildren are coming to visit! There are no greater words than these unless you have just received news the grand family is moving closer. Either way grandparents can use these creative activities with the usual joys of  being together. 
Watermelon Sorbet
  Purchase seedless or almost seedless watermelon. Children can use table knives and cut the pink watermelon into one inch cubes with no seeds. Save the seeds for a seed spitting contest.  Place cubes in the freezer until hard and have a seed spitting contest while the watermelon freezes. Blend the frozen cubes in a blender until you have a smooth puree. Pat down in a small cake pan and freeze again. Run a scoop or spoon under hot water and scoop out the sorbet. If you let the sorbet melt it makes a delicious Slurpee.
DIY Foamy Paint
Chalk Paint a Welcome...
  Children can use markers or crayons to draw on pieces of poster board you have cut into small sizes like 8 ½ x 11 or even smaller. To make the foam paint that will add dimension and interest to their drawings mix equal parts of shaving cream and white school glue and add food coloring or poster paint. Place in strong sealed freezer bags and squish the materials carefully together. When the paint is mixed, cut a small hole in the corner of each bag. 
  Children can add to their artwork like piping icing and let pictures harden overnight. The paint will say puffy when dry. Remind children not to touch their eyes since shaving cream is soap and will sting.
Spread Happiness 
  Use chunky chalk or chalk paint to make a little happy faces pathway all over your neighborhood sidewalks. Make them far enough apart that people will look forward with anticipation to finding the trail of smiley faces as they walk their dog. Look out the window to watch their reactions.
  To make liquid chalk add one cup cornstarch to one cup poster paint. You can make it thinner by using less cornstarch.  The liquid chalk will wash off with the next rain and is not toxic to the environment or pets.
Search for Love Rocks
Love Rocks
  Pick up some flat rocks near a river or lake. Pour different colors of washable paint in small plastic containers. Children can decorate the rocks and print “Hi” on the other side. Place them on steps of people in the neighborhood or a loved one’s grave.  

More Ideas and Activities....See the authors’ book “Learning Through the Seasons” at area bookstores and grandparentsteachtoo.org. For more help to prepare young children for success in school see the authors’ web site: www.grandparentsteachtoo.org. Also check our audio Podcasts WNMU Radio 90; Youtube video activities; and join us on Pinterest
Photos: Fran Darling: fdarling fotos
Sketch: Mark Nowicki

Friday, May 18, 2018

Marshmallows More Than S’mores

Marshmallows Are Great for Art!
Marshmallows have four grams of sugar each which is about one teaspoon of sugar. Four grams may be OK if you only eat just one. However, who eats just one or counts the calories around the campfire? Marshmallows can also be used for art projects and artsy recipes this time of the year when families have fresh marshmallows for campfires and s’mores.
  Marshmallows make a beautiful edible paint. All you’ll need are marshmallows, water, light corn syrup and food coloring to make this fun sweet paint.  It can be used to decorate cookies, fingers, bread, English muffins, paper, and more. Use clean water color brushes for painting.
Easy to Make
   You will need 1 cup packed marshmallows, ¼ cup water; 2-3 tablespoons light corn syrup, basic food coloring to make many colors, and little dishes. You will also need something to paint. Marshmallows on a sucker stick, toothpick, or popsicle stick work well. You can also use plain cookies like animal crackers, vanilla cookies, or lady fingers. 
Working With Marshmallows Is Fun
Bread or anything with that kind of a rather firm top will do. If you think the kids have had enough sugar, the marshmallow paint is similar to a puffy paint look on paper.
  Place the marshmallows in a microwave –safe bowl and heat on medium for 30 seconds.  They will puff up a bit.  Stir in the water and continue to microwave for an additional 30 seconds.  Stir well to let the heat melt the marshmallows fully. Stir until smooth.  Stir in light corn syrup to desired consistency.
  Divide the marshmallows into little containers and stir in a few drops of food coloring. Experiment with secondary colors like blue (cyan) and red (magenta).  You can make some secondary colors. Yellow and red make orange, blue (cyan) and yellow make green., red and blue make purple. Add plain white to lighten them up. Allow the mixtures to cool enough for children to handle.
Very Creative
  To paint use popsicle sticks. The marshmallow paint may be store in sealed containers several days at room 
Be Creative
temperature. The paint dries well enough to handle but will remain sticky.  Cookies will not be stackable.
  Children also enjoy making bouquets of the decorated marshmallow on a stick and placing them on a vase as flowers for a table decoration or a center of a cake.
  The icing can also be use on graham crackers for beautiful tile like cookies. It can be used to make decorations on graham cracker v- shaped triangle tents and rainbows on small graham cracker ginger bread houses.  Decorated cake doughnuts are also a hit. Older children can use finer brushes for detailed decorations with this sweet edible paint that has many possibilities for creativity on iced cakes and brownies. For more see grandparentsteachtoo.blogspot.com, wnmufm.org/Learning Through the Seasons, Facebook, and Pinterest.
Photos: Fran Darling, fdarling fotos  


Tuesday, October 6, 2015

Making, Raking, and Painting Leaves

 
Take a Walk to Collect Leaves
Young children’s minds are wondrous creative gifts. We sometimes forget how much they can absorb. Fall is an excellent season for science and art learning fun and they don’t take much time.
  You’ll need coffee filters, paper towels, child safety scissors, watercolors, a dinner plate, and leaves
  Take a short walk and collect some colorful leaves. Explain how leaves are nature’s food factories.  They take water from the ground through their plant roots.
  Introduce a few science terms. Young children learn long dinosaur names and master a DVD controller so why not a little science?
Science Concepts
  Leaves take a gas called carbon dioxide from the air (that we exhale) and use sunlight and water to turn this gas into glucose (sugar) for the plant and oxygen for us to breathe. A green chemical called chlorophyll helps make it all happen and covers up other beautiful leaf colors.  Plants use the sugar as a food for energy. This is photosynthesis meaning putting together with light.
  In fall the tree gets ready to rest for the winter and live off the sugar. There is less sunshine and no need for chlorophyll so the tree shuts off water to the leaves with  little walls and we get to see all the colors that were hidden by the green as leaves die and fall to the ground. Children can act this out.
Watercolor Fun
  Help your children identify all of the leaf colors before placing leaves in a heavy book to press.
Identify Colors Along the Way
Then take out a few absorbent coffee filters, watercolors, and a plate of rinsing water. Teach the kids to rinse off their bush to keep it clean.
  To make maple leaves, children can spread fingers and trace their hand on a filter. For oak leaves trace their foot or palm with fingers snug together.
  After checking that your children are grasping the scissors correctly, help them hold and cut out the filter leaves. If they cut out jagged leaves, no problem.  They are doing the best they can right now.
  On a paper towel make a few water colors they observed on real leaves like red, yellow, purple (red and blue) orange (red and yellow) brown (orange plus a little blue or green plus a little red.
  Children can now paint their filter leaves.
Continue to Use Science Words
The watercolors will blend together. Allow the leaves to dry and press in a book or gently iron, if curly. Tape them in a sunny window or glue on a cardboard circle to make a wreath.
 Use the science words at least six times on future walks and discussions together.  Encourage them to explain to someone else how leaves turn colors.

Photos: Fran Darling, fdarling fotos

More Ideas and Activities....See the authors’ book “Learning Through the Seasons” at area bookstores and grandparentsteachtoo.org. For more help to prepare young children for success in school see the authors’ web site: www.grandparentsteachtoo.org. Also check our audio Podcasts WNMU Radio, 90Youtube video activities; and join us on Pinterest

Monday, December 22, 2014

Easy Kitchen Art with Kids

When grandchildren or cousins visit, adults can be prepared in just a few minutes by using some simple art recipes that have been handed down through generations of teachers. The recipes use ingredients found in the kitchen and are easy and entertaining for children. These activities provide an excellent time to talk, an important first step to reading.
Cornstarch Recipes


   Rainbow Stew produces a fun rainbow effect of changing colors. There is no mess involved. Mix together 1/3-cup sugar, 1-cup cornstarch, 4 cups cold water and 3 drops of different colored food coloring. Mix together the first three ingredients and heat on the stove with low heat stirring constantly until thick.  Place in several zip lock bags when cool.  Add different food colorings and squish around. This is a good time to explain primary colors: yellow, red and blue. They will make the secondary colors of orange, green, and purple when pressed together.
  Oobleck is an old favorite. Is it a liquid or a solid?  Mix ½ cup cornstarch, ¼ cup water and add 2 drops of food coloring. Mix together cornstarch and water on a cookie sheet with raised edges or a cake pan.  This is easier than a bowl.  Add the food coloring.  Then take a small handful and let it drip and splat on the table. Pick it up again. Stretch it. Pull it into various shapes. Squeeze it through holes. Sometimes it will feel like a solid. Sometimes it will drip like a liquid. Stay in the kitchen to play.  This can get a bit messy. Store in a zip lock bag.

Kitchen Paints 
This next paint is edible so everyone can lick their fingers and their creation.
Children can paint with clean watercolor brushes or finger paint it on waxed paper, tin foil, or cookie sheets. The mixture can also be placed in a small tough freezer bag with a small hole for squeeze- bag painting.
  Cake Paint is delicious. Mix 1 package cake mix and required water on the package.  Add 1/3 cup vegetable or as stated on the package.  Do not add eggs since the mixture will not be cooked before eaten. Divide the mixture into small portions and add desired food colorings. When children tire of painting they can let it dry which takes a few days or eat their artwork.
Pudding Finger Paint is also easy.  Make a package of pudding mix.  Divide into smaller portions. Children can add food coloring and finger paint. If toddlers are using this paint, put on a bib, as food coloring will stain clothes.

Pictures: Mark Nowicki
Photos: Fran Darling, fdarling fotos
More Ideas and Activities....See the authors’ book “Learning Through the Seasons” at area bookstores and grandparentsteachtoo.org. For more help to prepare young children for success in school see the authors’ web site: www.grandparentsteachtoo.org. Also check our audio Podcasts WNMU Radio 90Youtube video activities; and join us on Pinterest

Tuesday, October 21, 2014

How to Make Fall Fun Last Longer

fdarling fotos
Families can make Halloween last a little longer when they do a few activities with fancy gourds.
Grandma Dee purchased gourds with her grandchildren and they discussed the many different shapes and sizes. What animals could these gourds become? Some had long necks like swans.  A few were small round gourds perfect for hedgehogs, porcupines, little pigs, owls, and small turtles with play dough feet. Long necked gourds could be swans and geese.  They hammered small nails into the round gourds and pushed toothpicks into holes for hedgehogs and porcupines.
Painting Gourds
Completely painted gourds must go through a special drying process or paint will bubble and peel and the gourd will mold. To paint only a face or design, wash them first with soap and water. Rub the skin with full strength vinegar or mild bleach, and allow to dry thoroughly under a warm light.  As a precaution place the gourds in a plastic bag over night. In the morning check for moisture in the bag.  If there is none, it is fine to paint. If there is moisture, place the gourds under a light again. If you’re in a hurry, dried gourds are available at craft stores and are easy to paint.
   Grandma and the grandkids only wanted them to last for two weeks. While the gourds dried they discussed different facial expressions that could be painted on the pumpkins and gourds. They looked in the mirror and made faces. Then to practice they drew the expressions on paper.
Some of the grandchildren decided to use marker or paint to make fancy designs of triangles, swirls, curls, and squiggles with faces.
  Older children may want to press on gold thumbtacks and upholstery tacks or use strong quick drying glue to add colorful gems available in craft departments. After painting, older children can teach younger ones a finger play.
5 Little Pumpkins Fingerplay
5 Little pumpkins sitting on a gate (Hold up 5 fingers).
The 1st one said "Oh my! It's getting late!" (Hold up 1 finger. Then point at a clock.)
The 2nd one said, "It's very windy out here!" (Hold up 2 fingers and move like the wind.)
The 3rd one said "But we don't care!" (Hold up 3 fingers as you do when saying I don't know.)
The 4th one said, "Let's run and run and run." (Place 4 fingers on floor and move as though they are running.)
The 5th one said "Let's have some fun." (Wave 5 fingers and arms in air as though dancing!)
WOOOOOSH went the wind. (Make a loud woosh sound.)
OUT went the lights. (Clap hand very loudly when you say OUT.)
5 little pumpkins rolled out of sight. (Make a rolling motion.)
Photos: Fran Darling fdarling fotos & Mark Nowicki
More Ideas and Activities....See the authors’ book “Learning Through the Seasons” at area bookstores and grandparentsteachtoo.org. For more help to prepare young children for success in school see the authors’ web site: www.grandparentsteachtoo.org. Also check our audio Podcasts WNMU Radio 90Youtube video activities; and join us on Pinterest

Monday, April 15, 2013

Mixing Colors for Rainy Day Projects


 Rainy days can be fun too! Mixing two primary colors to make a secondary color helps young artists build vocabulary and skill creating designs. 

Materials:
  Plastic cloth, coffee filters, red, yellow, and blue food coloring, a small watercolor brush, clothespins (not the pinch kind) or thin wire, and a container of water, pipe cleaners (optional)

What to do:
  Cover the work area with the plastic cloth. Pick a color and paint on a coffee filter. Pick a second color and continue to paint on the coffee filter. Discuss what happens to the colors. Continue to experiment with a third color and discuss what happens. Take the opportunity to talk about “primary colors”(red, blue, yellow) and “secondary” (mixed colors). After painting on several coffee filters, let them air dry before proceeding.
  Once the filters are dry, choose one and scrunch the middle together and place it inside a clothespin or wire. Fan out the sides of the filter to make the wings of a butterfly.  Cut the pipe cleaner in half and wrap that around the knob of the clothespin for antennae. Use the other filters to make more butterflies.

Books to share:
 “Mouse Paint” by Ellen Stohl Walsh, “The Very Hungry Caterpillar” by Eric Carle, “Charlie the Caterpillar” by Dom Deluise, and “Where Butterflies Grow” by Joanne Ryder.

Find more activities:
For more projects see the authors’ book “Learning Through the Seasons” online information at 
http://www.grandparentsteachtoo.org/. Hear audio podcasts or our activities also online at WNMU Radio 90

Illustrations: Mark Nowicki


Monday, January 14, 2013

Activities That Prepare Children to Read

Vigorous physical activity is a big part of each day to keep young children healthy, but adults need to plan for quiet activities too.   While some limited TV time is OK, what are some other quiet easily managed activities you can set up? For more fall activities to help your children succeed in school and have a life time of learning see the authors’ book Learning Through the Seasons in museums, bookstores, and in E-book form atSmashwords.com

Materials Needed:  magazines, paper, crayons, markers, scissors, paint set, Q’tips, yarn, water, small rocks, white glue, 

What To Do:
Reading
 The number one priority is reading, reading, and reading!  Read to children several times every day and visit the library to check out books and attend free library programs. Children’s non-fiction books, also known as “true books,” are filled with pictures, new vocabulary and fascinating facts. They prepare young children to become curious, enthusiastic readers and lifelong learners who continue the search for information. Listen to this WNMU Public Radio 90 Podcast to find out about your library resources and many other ideas and activities to use when reading non-fiction to help your children learn and prepare them for reading.
Painting with Water
   Take a science walk and collect rocks of various colors, sizes, and shapes. At home, set your children up with a waterproof area and provide a small paintbrush or Q’tip and a bowl of water to help build up the small muscles of their hands. These muscles must be strong to print letters.  Show how to “paint” the rocks with water and notice how the color shows up like magic.  
 Pet Rocks 
   Help children use permanent markers to draw a face on the surface of favorite large rocks. Help them glue on a little yarn to make hair. Teach a dot of glue does a lot. Teachers will love you. Can you think of a good name for each? Place the rock on your table, desk, bookcase, or garden.
Crayon Resist
  Use a crayon on paper to carefully print your young children’s names in big letters.   Use a capital for the first letter and lower case for the following letters.  Then use water with a little paint color to make a wash over the whole sheet.  The name will stand out and be a perfect door decoration or book cover for a whole series of pictures.  Use dots or dashes to outline names. Show children how to start at the top of each letter to correctly follow the dots to print their names. Praise what they can do. They’ll try their best.
 Favorite Pictures  
  Using old grocery fliers and magazines, help children choose and cut out pictures of favorite flowers, fruits, animals, vegetables, and toys.  Print each blank paper with a picture title, for example:” My Favorite Fruits.”  Let the kids cut, sort and paste the pictures.  Talk with children about choices and use a marker to print the name of each item. This is a good activity to practice letters and beginning sounds of each word.  Very young children should work on only one category at a time. All these activities encourage creativity, build vocabulary and make the connection between reading and writing.

Photos by: 

Hall, Donna. ddc598.jpg. May 2008. Pics4Learning. 14 Jan 2013 http://pics.tech4learning.com
Hall, Donna. ddc599.jpg. May 2008. Pics4Learning. 14 Jan 2013 http://pics.tech4learning.com
Hall, Donna. ddc567.jpg. May 2008. Pics4Learning. 14 Jan 2013 http://pics.tech4learning.com 


Saturday, December 22, 2012

Fun and Learning for Quiet Times

-->
 Vigorous physical activity is a big part of each day to keep young children healthy, but adults need to plan for quiet activities too.   While some limited TV time is OK, what are some other quiet easily managed activities you can set up?
 Listen to this activity online at the WNMU Podcasts

Materials Needed:  magazines, paper, crayons, markers, scissors, paint set, Q’tips, yarn, water, small rocks, white glue, 

What To Do:
Painting with Water
   Take a science walk and collect rocks of various colors, sizes, and shapes. At home, set your children up with a waterproof area and provide a small paintbrush or Q’tip and a bowl of water to help build up the small muscles of their hands. These muscles must be strong to print letters.  Show how to “paint” the rocks with water and notice how the color shows up like magic.  
 Pet Rocks 
   Help children use permanent markers to draw a face on the surface of favorite large rocks. Help them glue on a little yarn to make hair. Teach a dot of glue does a lot. Teachers will love you. Can you think of a good name for each? Place the rock on your table, desk, bookcase, or garden.
Crayon Resist
  Use a crayon on paper to carefully print your young children’s names in big letters.   Use a capital for the first letter and lower case for the following letters.  Then use water with a little paint color to make a wash over the whole sheet.  The name will stand out and be a perfect door decoration or book cover for a whole series of pictures. You can se dots or dashes to outline names. Show children how to start at the top of each letter to correctly follow the dots to print their names. Praise what they can do. They’ll try their best.
 Favorite Pictures  
  Using old grocery fliers and magazines, help children choose and cut out pictures of favorite flowers, fruits, animals, vegetables, and toys.  Print each blank paper with a picture title, for example:” My Favorite Fruits.”  Let the kids cut, sort and paste the pictures.  Talk with children about choices and use a marker to print the name of each item. This is a good activity to practice letters and beginning sounds of each word.  Very young children should work on only one category at a time. All these activities encourage creativity, build vocabulary and make the connection between reading and writing.
Reading
 The number one priority is reading, reading, and reading!  Read to children several times every day and visit the library to check out books and attend free library programs.

Photo: Norman, Steve. nat143.jpg. . Pics4Learning. 22 Dec 2012

 For more fall activities to help your children succeed in school and have a life time of learning see the authors’ book Learning Through the Seasons in museums, bookstores, and in E-book form atSmashwords.com.